- Login to honolii as user lriseng.
- Start the script to install the polarimeter by selecting
Engineering > Polarimeter >
Install polarimeter. When the following query
appears:
Should I open the trapdoor, insert direct mask, and power off
the red polarimeter encoder so that you can install
the module? (y/n) [y]:
press Enter to continue. The
script will prepare the instrument for insertion of the
polarimeter module, and tell you when to proceed with
installation.
- Rotate LRIS to the fill position (if it is not already
there) by following these steps:
- Verify that power to the AAA is on at the MCP.
- In the AAA at Panel A2:
- Switch CASS to ENABLE.
- Switch MODE to LOCAL.
- Switch DRIVE POWER to ON.
- Hold down CASS CW switch to rotate to desired
position.
- Switch DRIVE POWER to OFF
- Remove LRIS to the Cassegrain platform following the module
servicing procedure.
- Using a 3/16 ball driver, reach through the trap door
and loosen, but do not remove,
the four allen screws from the front of LRIS, (two screws on
top and two on bottom) that reference the polarimeter. Alert: The screws are not captive!
- Open the outer and inner side access doors on the left
side of LRIS, inner hatch door will require a 7/64 ball
driver.
- Remove the polarimeter from the case and install it
through the side access door using the two handles being
cautious not to touch any of the optical components. The
filter wheel faces towards the secondary. Be careful as the field lens is directly
behind the polarimeter.
- Tighten the four screws that define the polarimeter
baseplate against the LRIS frame in front of the field
lens. You may have to rotate the filter wheel to get to the
top right screw. When finished, make sure that the filter
wheel is in a detent (indexed) position.
- Connect the four polarimeter cables.
- Close the outer side door securely.
- Now return to the honolii computer and press Enter in the window running the
polarimeter install script to continue.
- When given the query
Should I power on the polarimeter module? (y/n) [y]:
press Enter to restore power.
- The script will now do the following:
- Update the image headers to include polarimeter
keywords.
- Restart the low-level software which writes images
headers so that the updated header file is re-read.
- Check operation of the waveplate stage.
- Check operation of the calibration wheel.
- Once the stages check out, the script is ready to take some
test images. To bring up the LRIS software, select from the
desktop menu Start Up ALL LRIS Control listed under desktop Menu.
If the software is already running, you must restart
before continuing by selecting the Re-start
ALL LRIS control option from the desktop menu. Once you
have done this, return your cursor to the window running the
script and press Enter to continue.
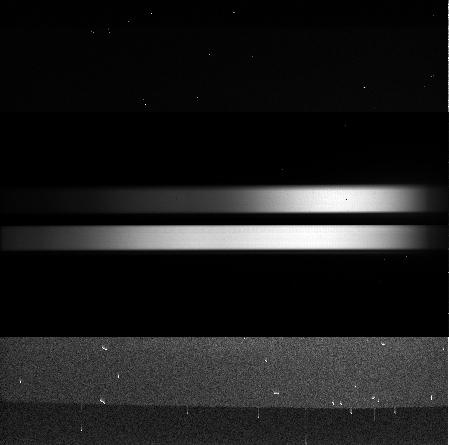
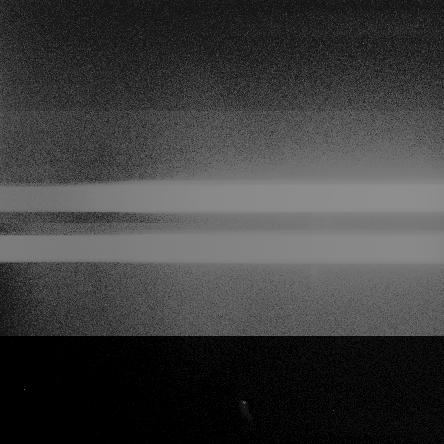
- The script will configure LRIS for spectroscopy and take an
image with the RED side of LRIS. Check the image to verify that
it looks appropriate (see sample image
below). Note that there should be two spectra running left to
right on the CCD; these are the two polarization senses of the
light. If the image looks okay, proceed.
- When done, the script will print:
------------------------------------------------------------------------
                                  SCRIPT DONE
------------------------------------------------------------------------
Press Enter to close the window.