Before proceeding with NIRSPEC AO checkout below, make sure
the Power Up
Procedure steps have been completed first, following the
reconfig of NIRSPEC into AO.
Set the software keyword for NIRSPAO operations
- Open a local xterm within the instrument VNC session. (NIRSPEC
menu → login windows → local xterm)
-
modify -s nsmores instrume=NIRSPAO
Start up NIRSPEC software from any user
session (preferably nspeceng)
If you have not done it yet, on the VNC background
menu: NIRSPEC Control Menu → NIRSPEC Start Up.
This will launch the following GUIs:
- Control 0:
-
NIRSPEC Format Simulator (AO Mode) GUI, aka. Echelle
Formal Simulator (EFS).
-
NIRSPEC instrument control GUI (mechanisms)
-
Program Identification GUI (PIG)
-
Eventsounds GUI
- Control 1:
-
SCAM Ginga display GUI
-
SCAM detector dialog
-
NSCAM Status display
- Control 2:
-
SPEC Ginga display GUI
-
SPEC detector Dialog
-
NSPEC Status display
- Telstatus:
Optionally, the following GUIs can be launched from the VNC
pulldown menu:
-
NIRSPEC MAGIQ UI
-
K2 Telescope Status Menu → FACSUM
-
K2 Telescope Status Menu → XMET - Weather
Begin AO calibration for NIRSPAO
- Follow the steps for calibrating the AO system for NIRSPAO
using the standard
AO checklist.
- NOTE: skip the DM/WLS registration step, if this has already
done for NIRC2 going on sky in the same night.
-
Stop just before the beginning of the image sharpening section.
Find the Fiber Light Source on SCAM
The following procedure can be used to take continuous
images with SCAM while modifying the SFP obsfz value until the
best image quality is achieved.
- Keck II calib → Light Source Control → ND6
- SC GUI → SF (SFP) → sharpscam
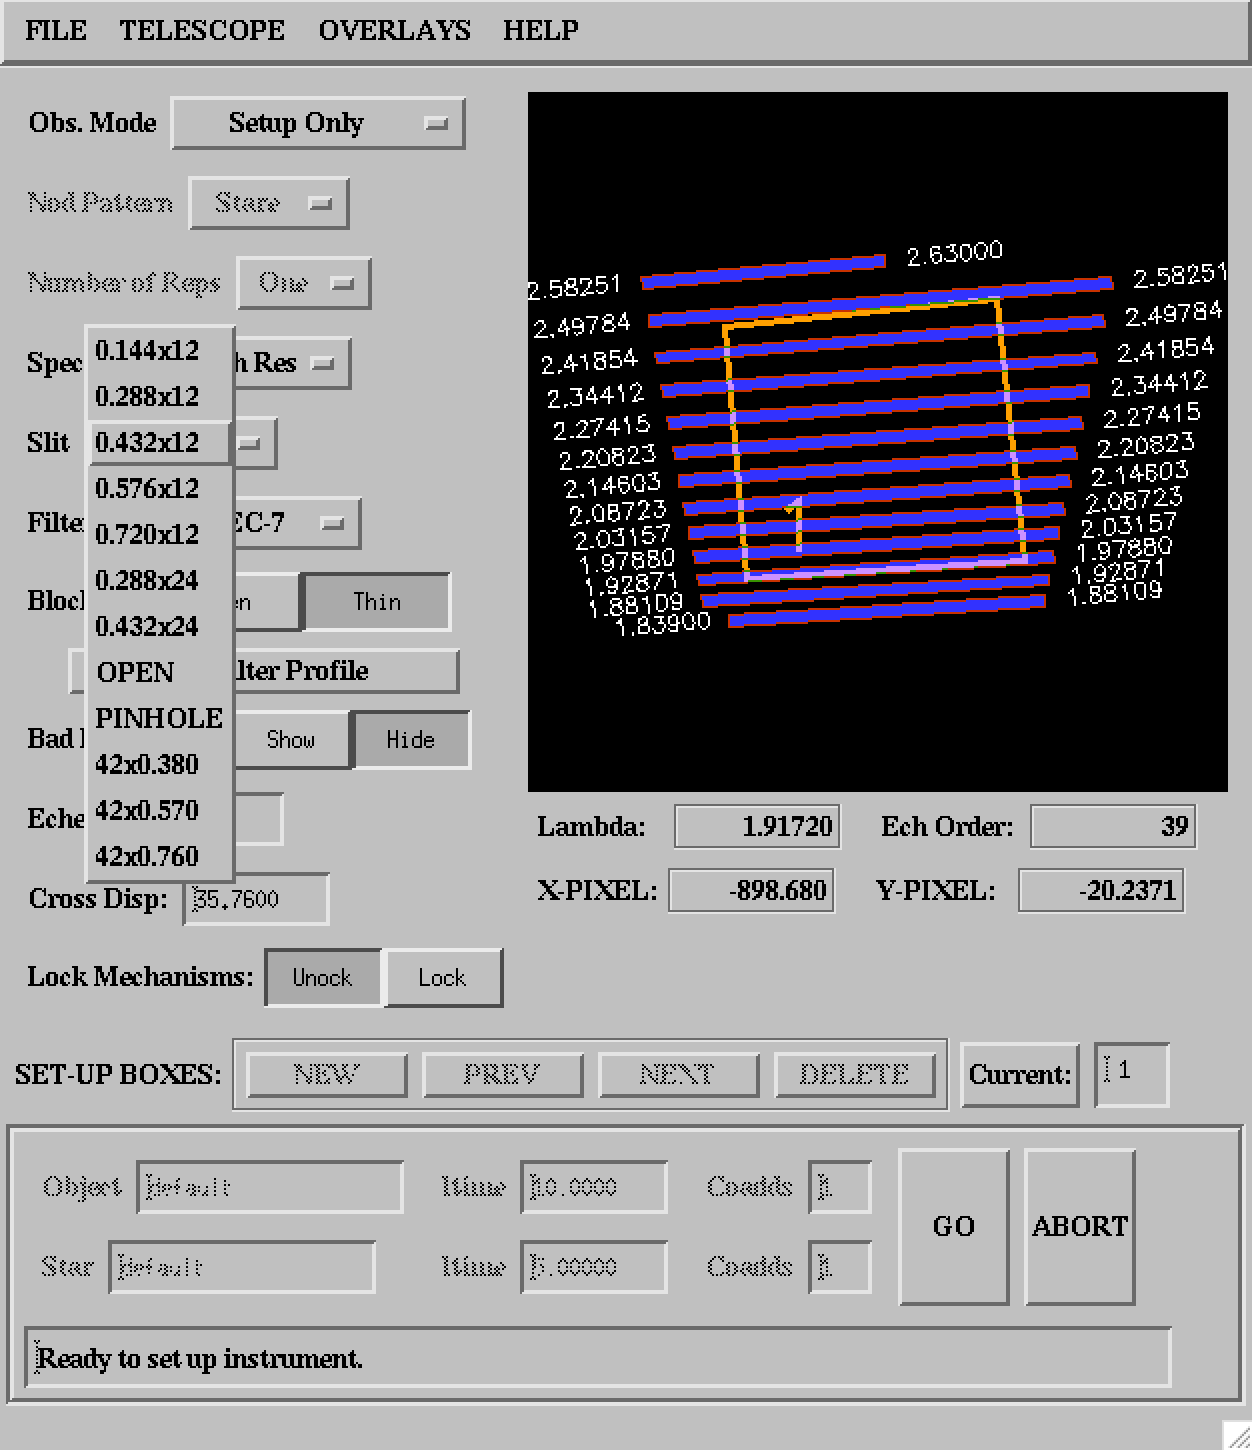
- EFS → Obs. Mode → Setup Only
- EFS → Filter → NIRSPEC-7
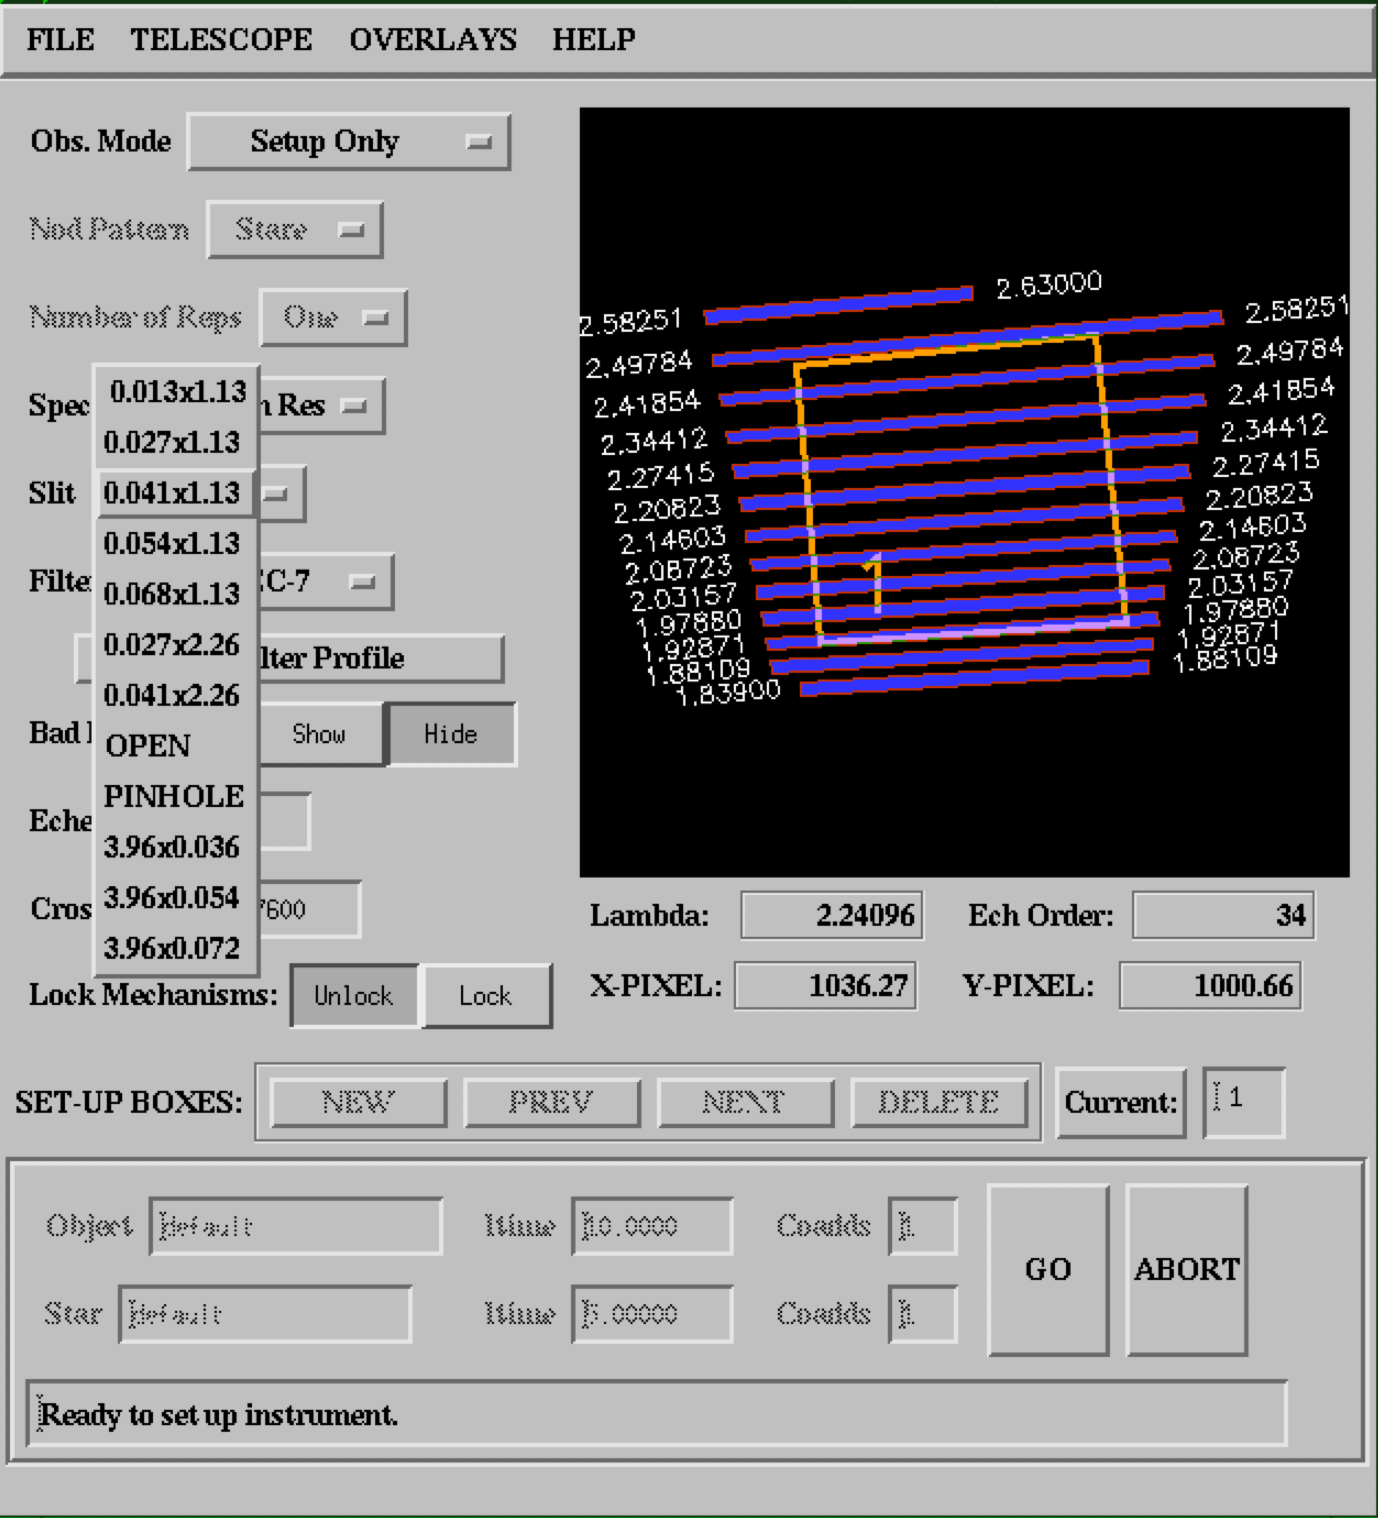
- EFS → Slit → 0.041 x 1.13
- NOTE: If the Slit size options displayed in the pull
down list of the EFS
show Seeing
limited values instead of the
correct AO sized slits,
then:
-
Verify the
NIRSPAO keyword is being applied: show -s
nsmores instrume, and modify it to
NIRSPAO if it says NIRSPEC.
-
Quit out of the EFS, and restart that GUI via the background
menu: NIRSPEC GUIs Menu → EFS GUI
-
Verify that the correct slit menu is now present in the EFS
pull down, and repeat the steps above.
- EFS → GO
Monitor the setup progress on the NIRSPEC instrument control
GUI and on the wait_wrapper popup terminal. Double
check that:
-
The Fold mirror stays Out
-
The FEU flip stays In
-
The Pinhole stays Out
-
The Hatch stays Closed
Once the setup is completed, take a SCAM backgroung image
on a nirspec terminal with the following commands:
tint2 0.67 (shortest SCAM exposure time in seconds)coadds2 1goi2
Set the last image as background for Ginga. On the SCAM Ginga
display NIRSPEC_SCAM → Use last as subtraction
Open the NIRSPEC hatch and start taking continuous images with
SCAM:
-
NIRSPEC instrument control → Hatch → New value
→ Open → Apply
-
On a nirspec terminal, use the following command:
goi2 100
-
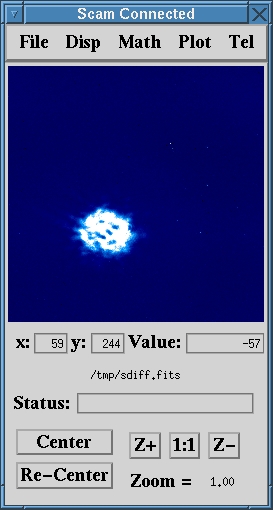
You should see the fiber spot imaged to the right of the slit
in the SCAM field when viewing the Ginga image with
the Raw channel.
If not, increase fiber power to ND5 or less try
again.
- If you don't see the fiber spot anywhere on SCAM, but
you can see it on ACAM when the SFP is
on optnirspao, check into these possible issues:
- The fore-optics mount for NIRSPAO (required for the needed ~12x magification) may need to be installed, or re-positioned inside the AO enclosure, and requires summit staff to enter AO to check.
- NIRSPEC may need to be re-defined in its AO position. This requires summit staff to pull NIRSPEC back a little and then forward again to re-engage its defining points inside the AO enclosure.
-
Other possible reasons that may make it difficult to see the
fiber spot on SCAM are:
- The filter NIRSPEC-7 was selected, but the AO stop was
not. Check that Current Stop says "AO" (instead of "Thin") on the NIRSPEC Instrument Control GUI when clicking on the SPEC filter selection
- The SFP obsfz value is way off.
Check the AO pupil alignment using the
Fiber Image on SCAM
- Configure NIRSPEC for the NIRSPEC-7 filter, and take a SCAM
background with tint2 and coadds2 as above:
- Put the fiber way out of focus: SFP obsz to -10mm away
from its current value
- Take an exposure and check for any obvious vignetting. View
the SCAM Ginga image in the Difference channel.
- Increase the fiber power from ND6 to ND5, as needed for adequent signal on the out-of-focus image. Note that SCAM goes non-linear above 10,000 counts.
- Repeat the steps above using the NIRSPEC KL filter, and
check for any obvious vignetting here.
- Here are examples of un-vignetted pupil images
for N7
and KL filters.
Verify Pointing Origins for NIRSPAO are same as NIRC2
The Ref-N and Ref-L pointing origins need to be identical for NIRSPAO as they are with NIRC2. Follow these steps to check and update, if needed, these NIRSPAO PO values.
- Open a TCSU GUI and access the configServiceUI menu via the TCS menu pull down.
- Scroll down to supNIRC2 and expand that menu via "+".
- Select the NIRC2po1 item, and make a note of the NIRC2 Ref-N PO values (x and y).
- Do the same for NIRC2 Ref-L values and make a note: Select the NIRC2po4 item.
- Look up the NIRSPAO Ref-N vlaues: Scroll down to supNIRSPAO and expand that menu via "+", then select NIRSPAOpo3.
- Look up the NIRSPAO Ref-L vlaues: select NIRSPAOpo4.
- If either set of PO values between NIRC2 and NIRSPAO do not agree, change the NIRSPAO values to be the same as NIRC2, and click Submit Changes in the lower left. Then exit the window.
Proceed with the AO calibrations for NIRSPAO
Follow the AO calibration steps, including the image
sharpening,
for NGS
or LGS,
and including
the image quality
check procedure, which ends with NIRSPEC and K2AO in safe
mode.